Using FarmQA to Manage Soil Sampling
It’s that time of year again – when crop consultants’ minds turn to thoughts of - SOIL FERTILITY! Well let’s be honest, soil health is on our minds most of the year, but after a year of wacky weather (it’s been incredibly dry here in the upper Midwest), it’s critical to head into 2022 with the best nutrient plan possible. Once the crop is harvested and before proceeding with tillage or other post-harvest field work, it’s time to take a closer look at the soil in preparation for the upcoming year.
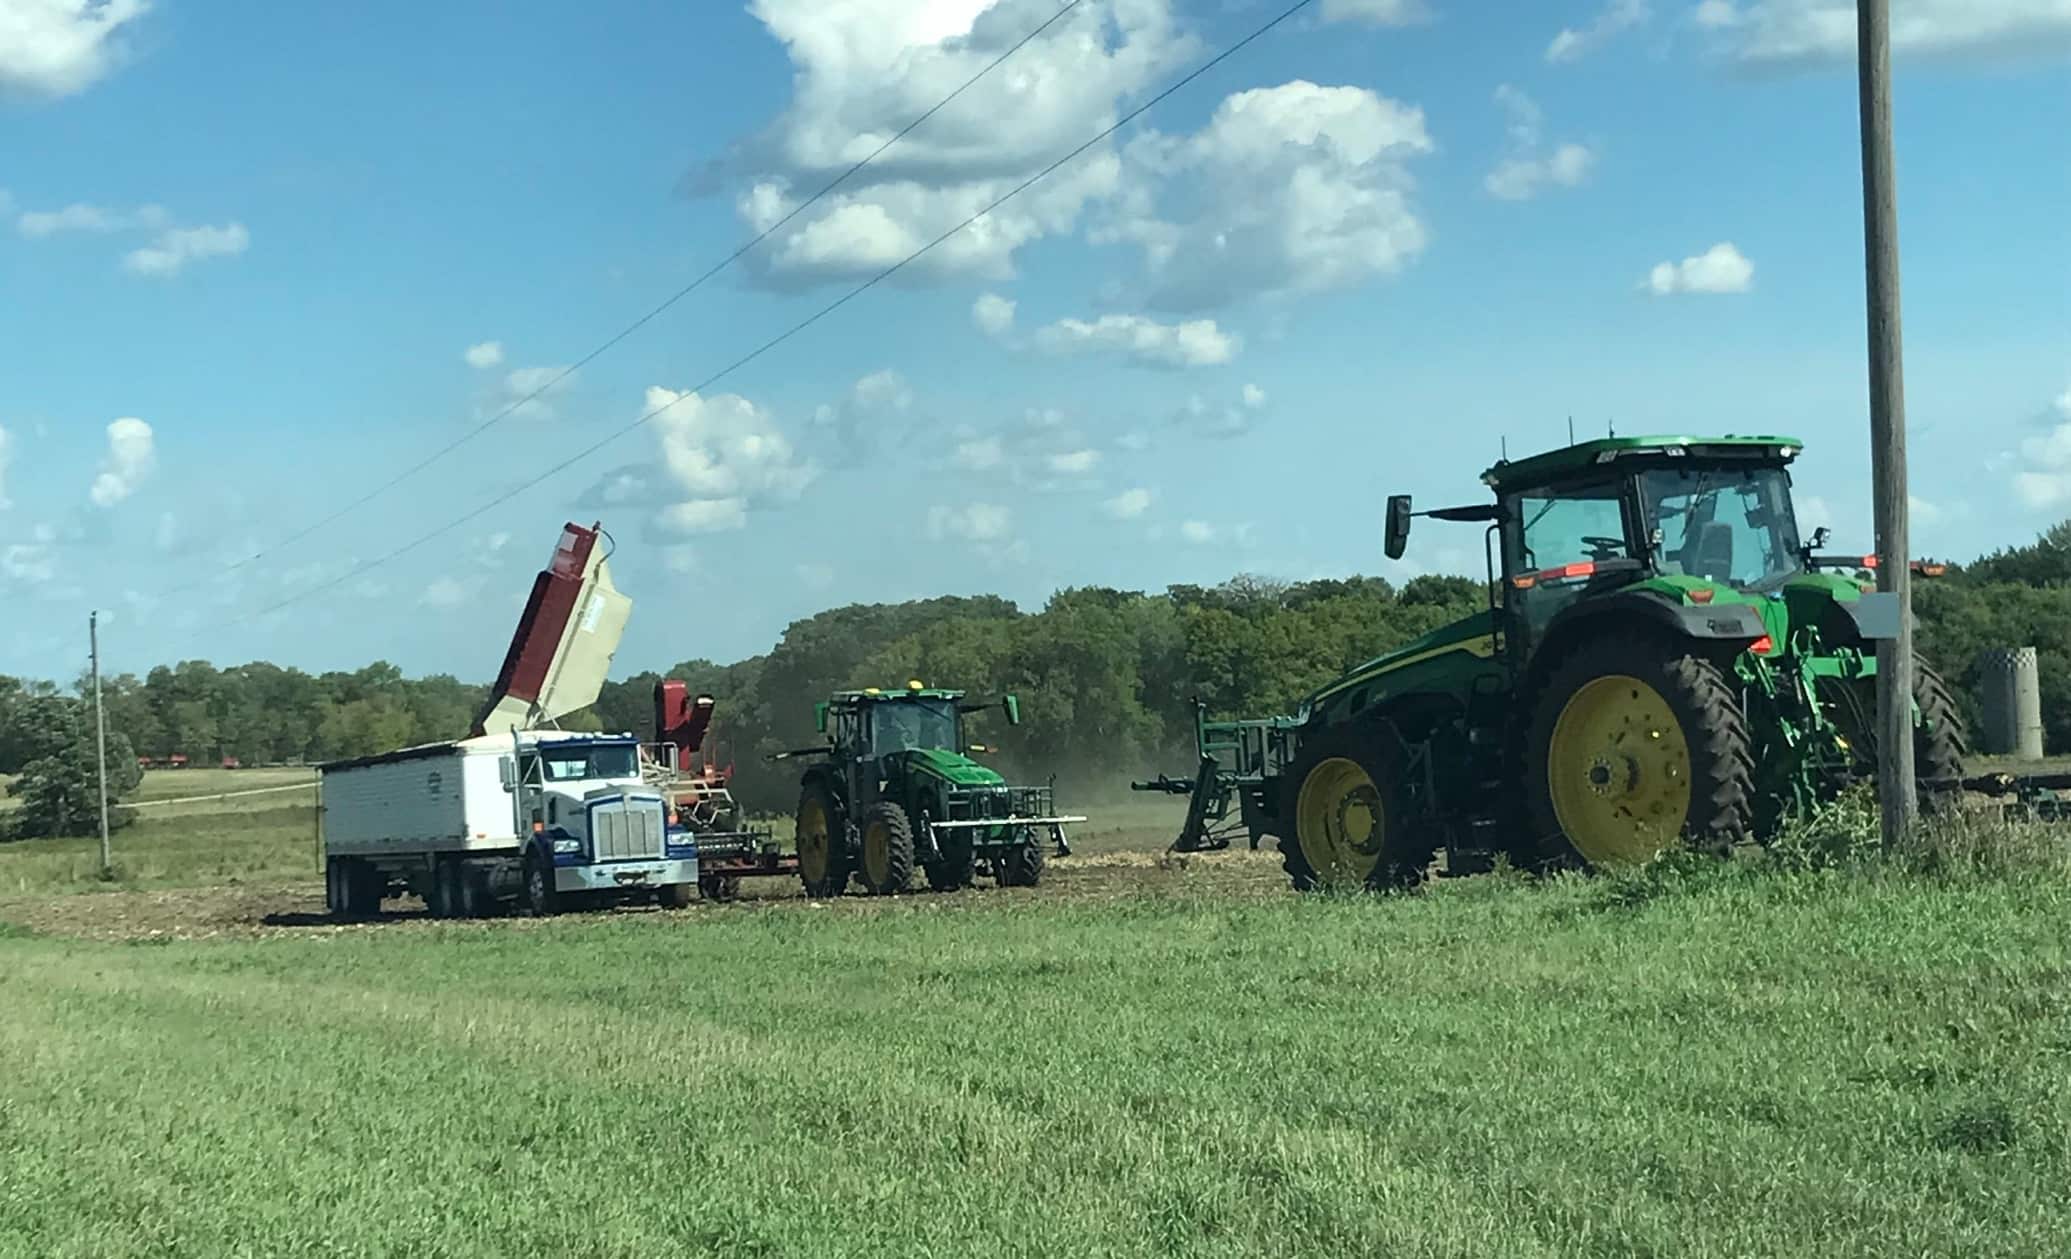
Soil Sampling with Belgrade Cooperative
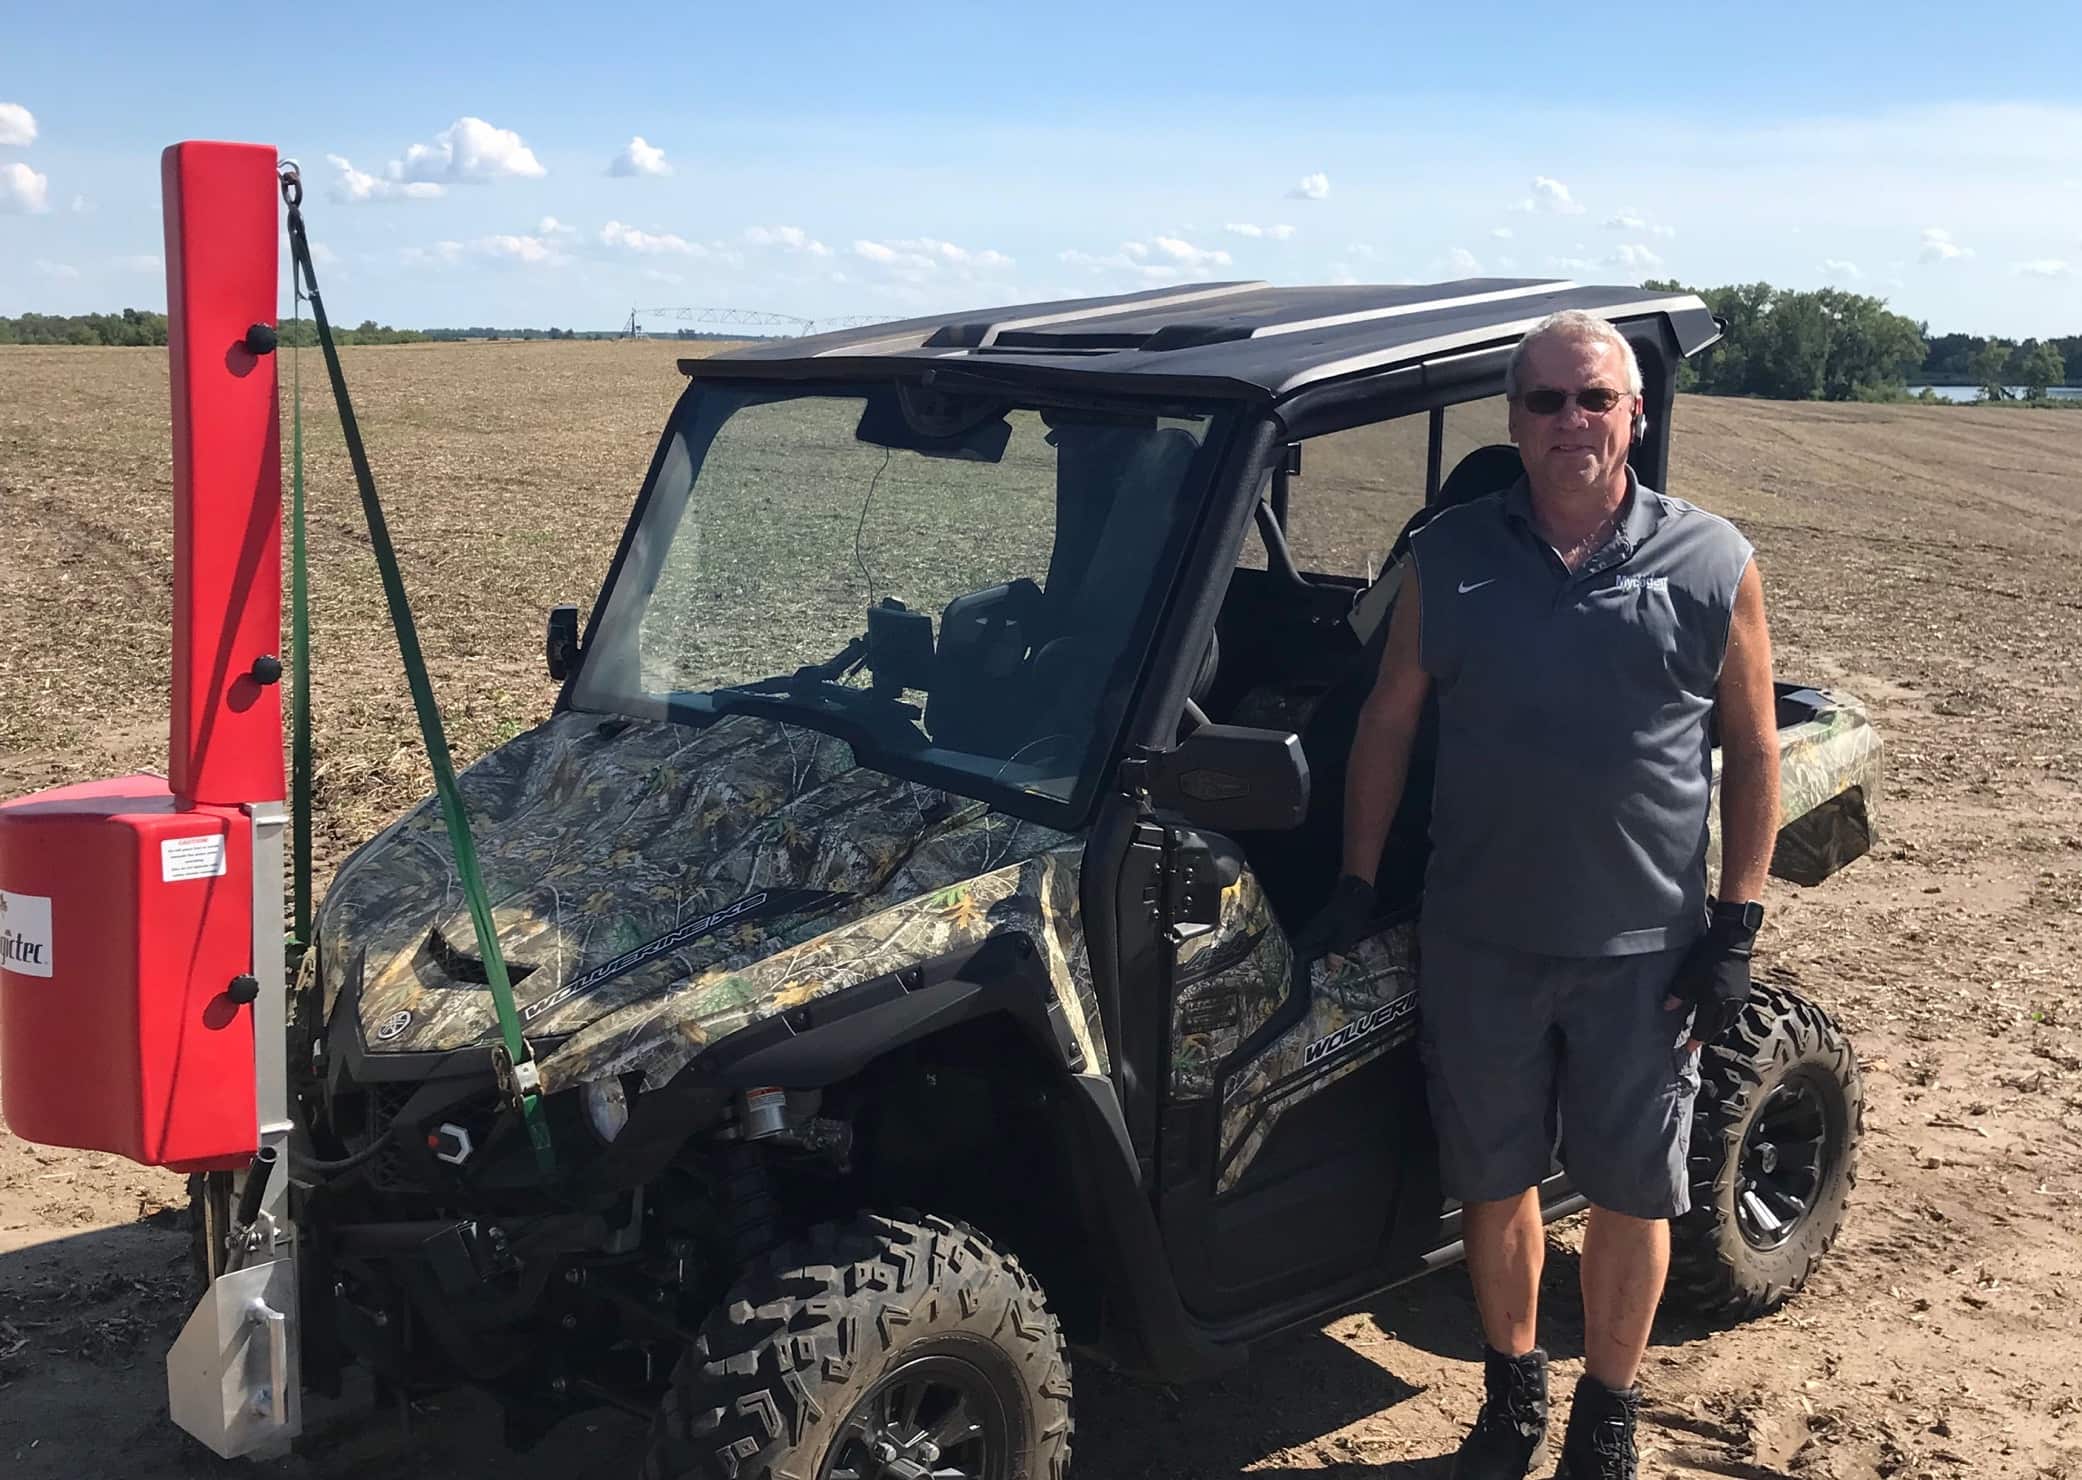
This week on my way to the Farm Progress show in Illinois, I had the opportunity to sneak in a few customer visits. This is one of the perks of my job – getting a chance to see our customers using FarmQA and getting their feedback on how to make our solution even better. The first stop was at Belgrade Co-op’s Agronomy Center in Belgrade, MN. Al Braegelman was doing some soil sampling, so I had the opportunity to ride along and see how he was using FarmQA to help with this important job.
FarmQA can be a useful tool when it comes to capturing soil sampling location points and sample information – and two benefits I want to focus on in this blog are:
- The ability to drop points and return to them
- The ability to upload zone maps or points to then display and navigate to the them
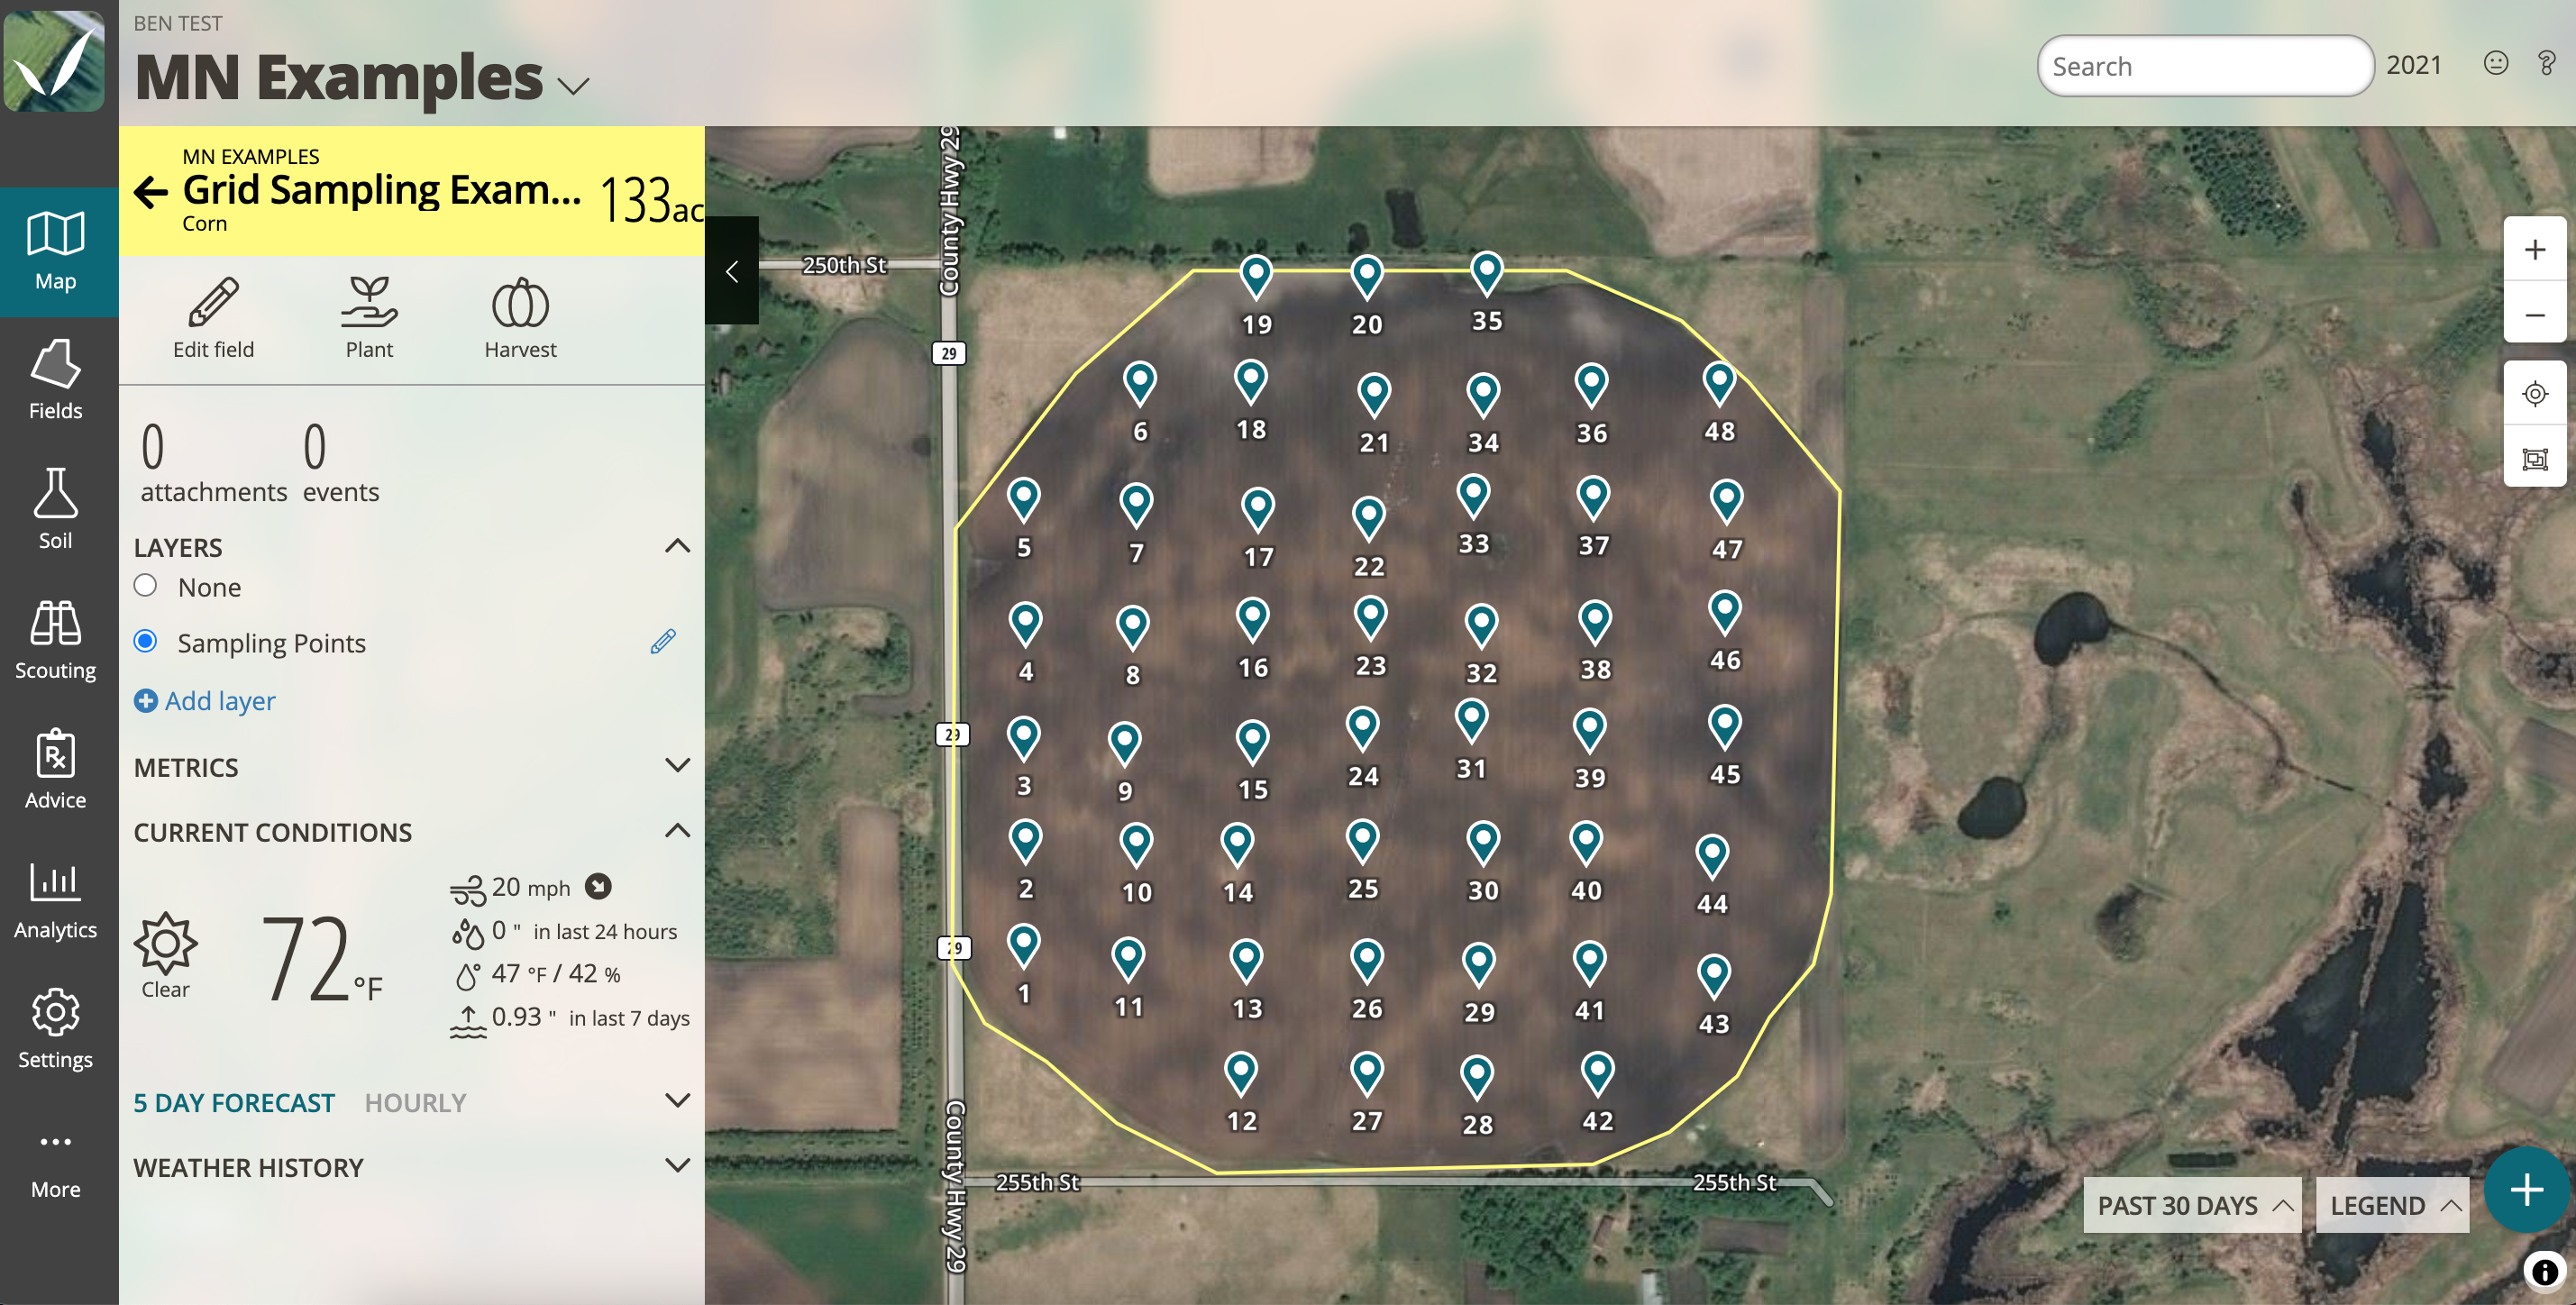
Dropping Points and Returning
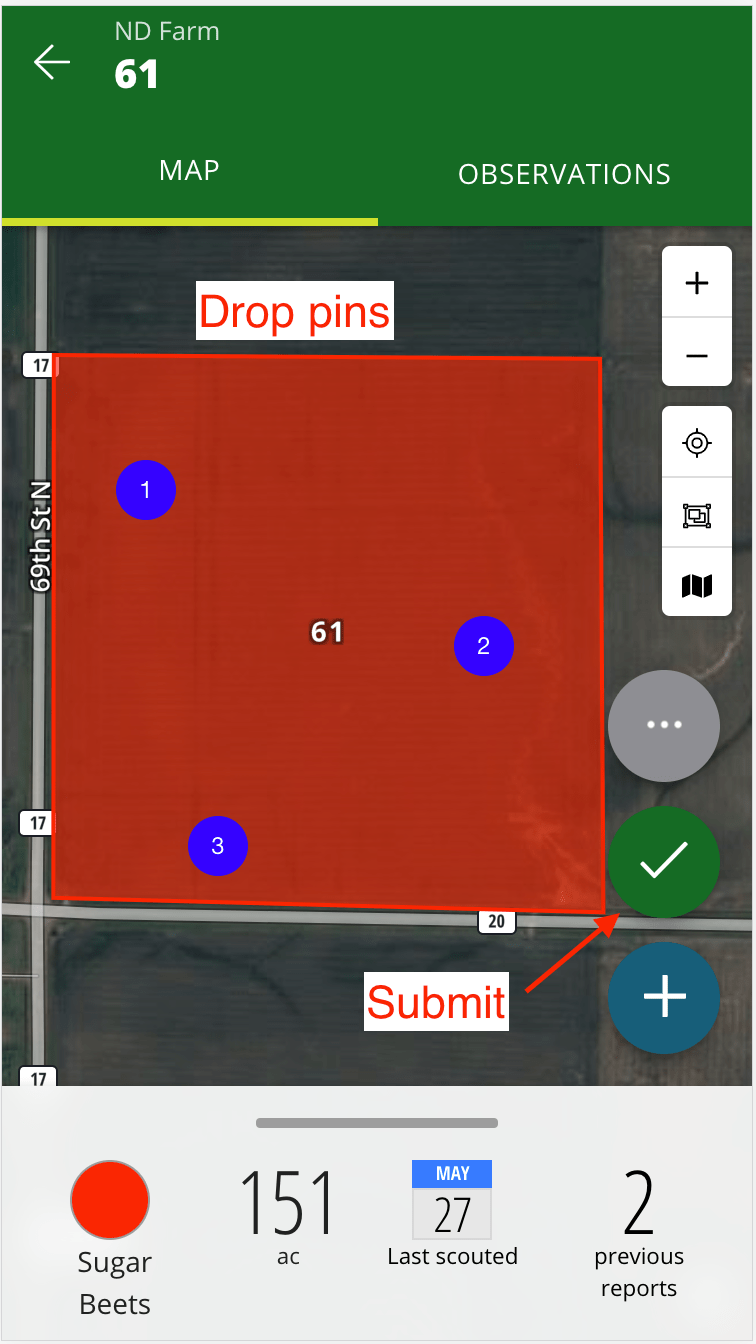
Just click on the map to drop pins at the proper locations and submit the report when all the pins are set.
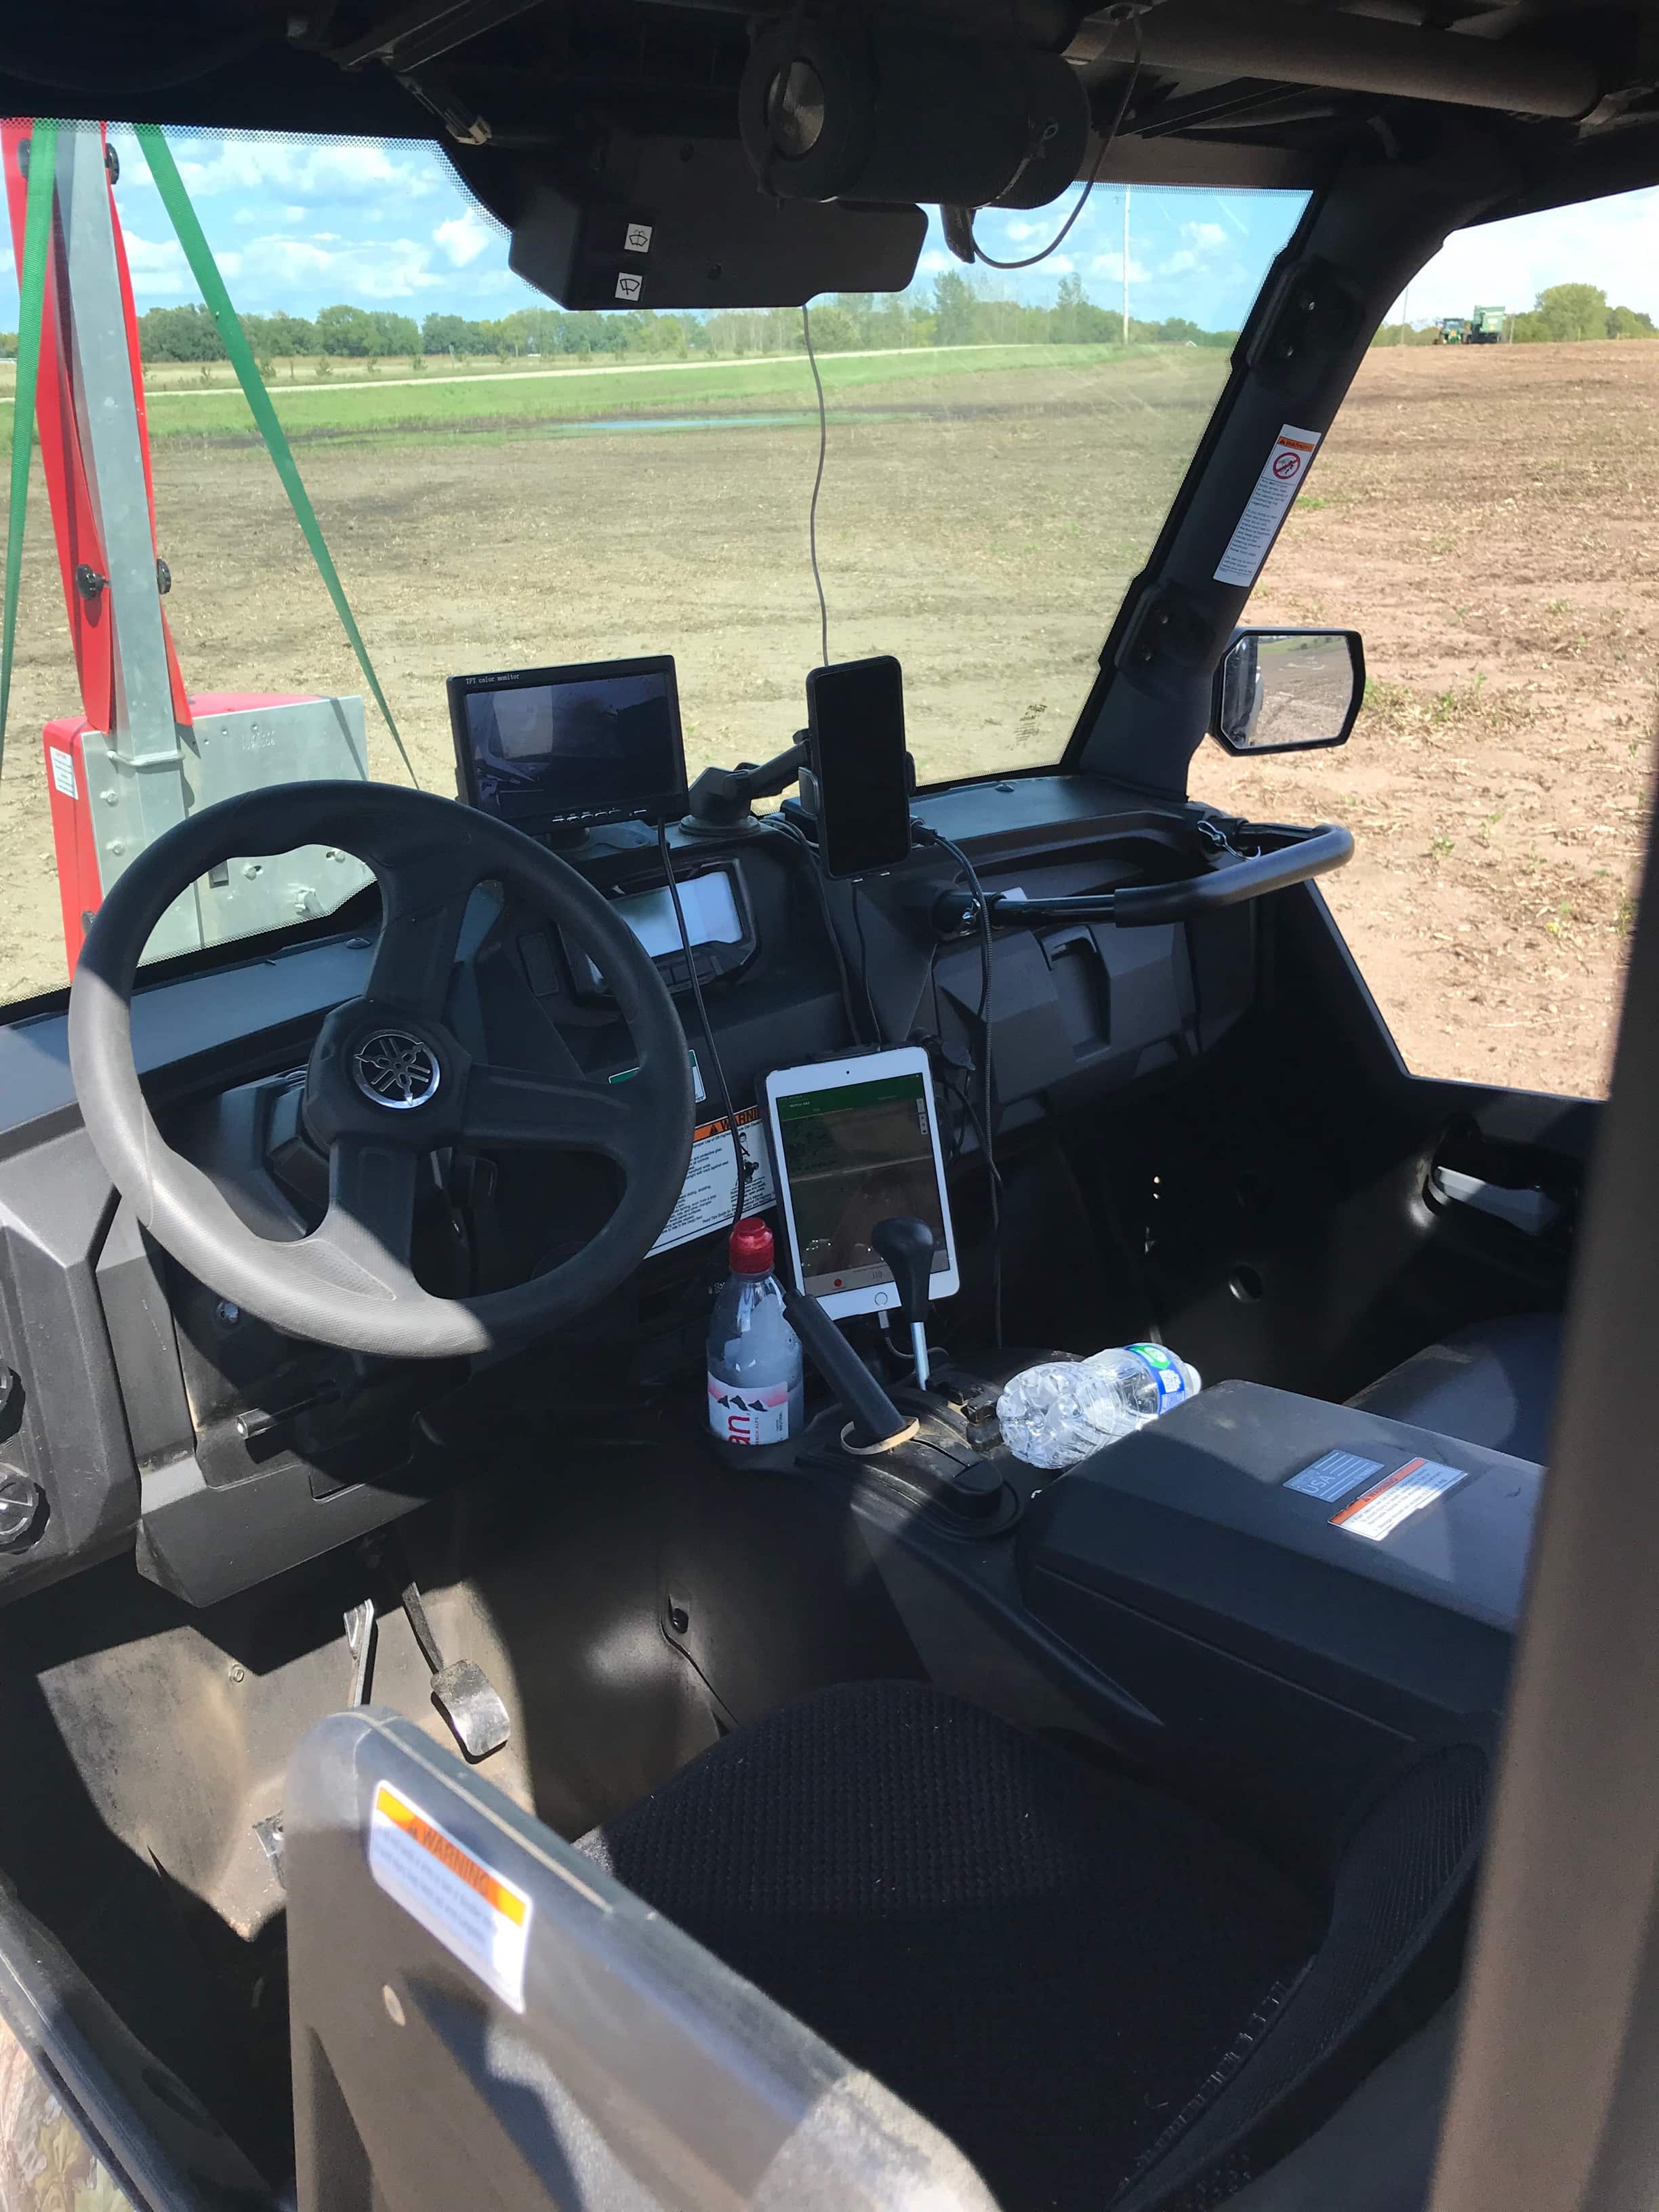
With FarmQA, capturing and returning to the precise location is simple leveraging your device’s navigation system and using FarmQA to record sample details like core length and moisture information.
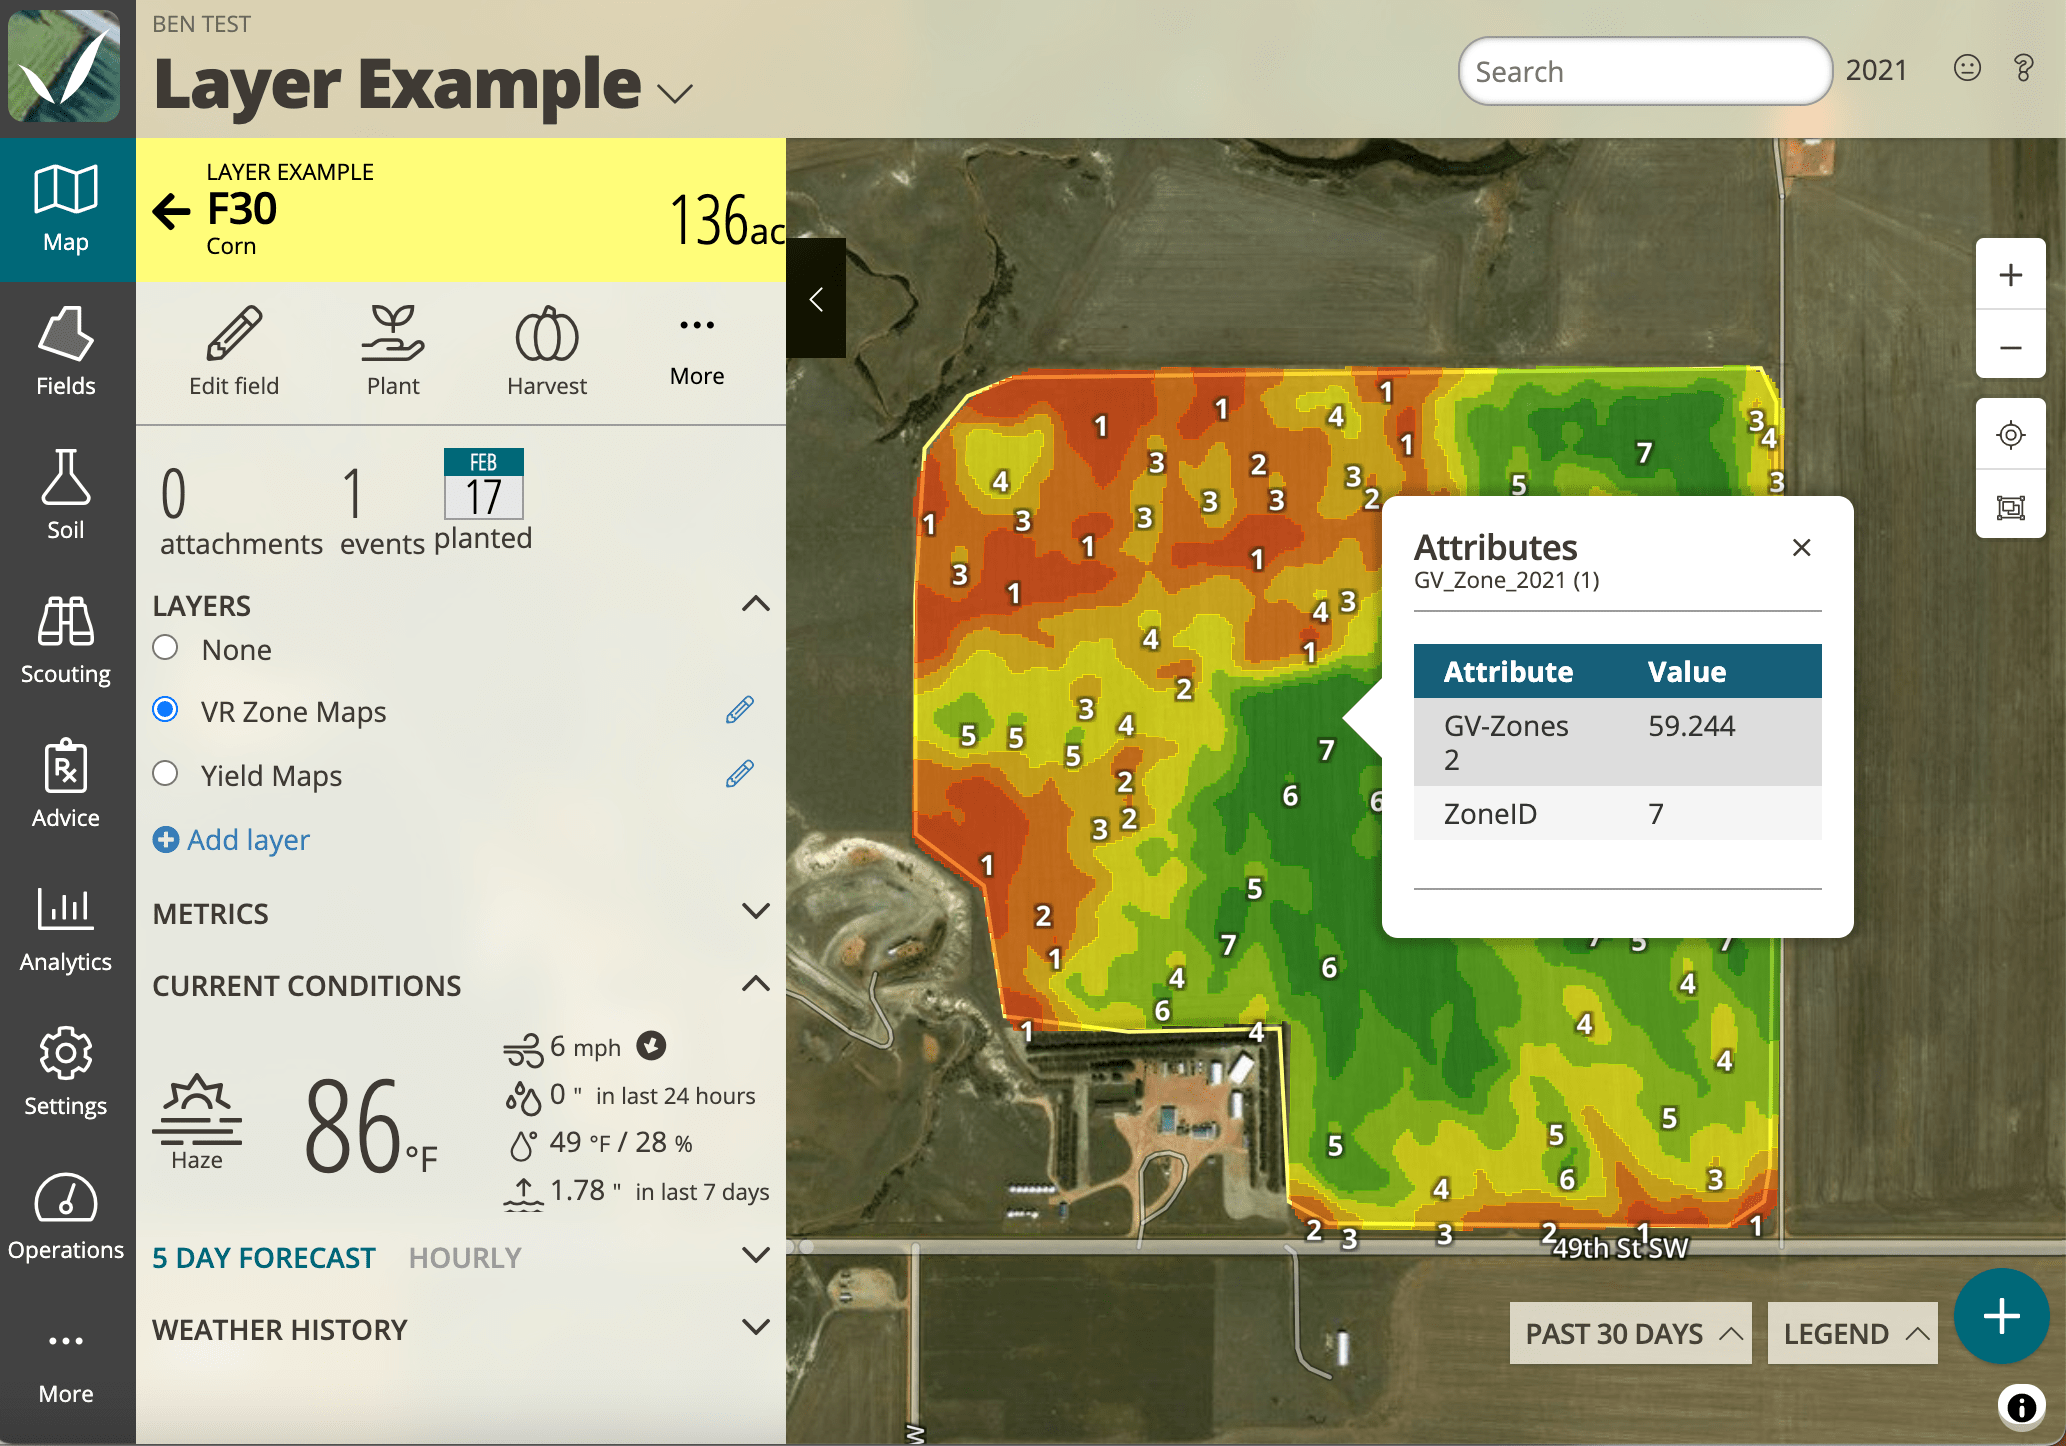
Uploading Zone Maps
The recent addition of Map Layers makes it even easier to view and navigate to specific locations. You can upload an existing zone map or existing points and then display and navigate to them using the FarmQA mobile app. This reduces setup time and allows you to view zone information visually within FarmQA.
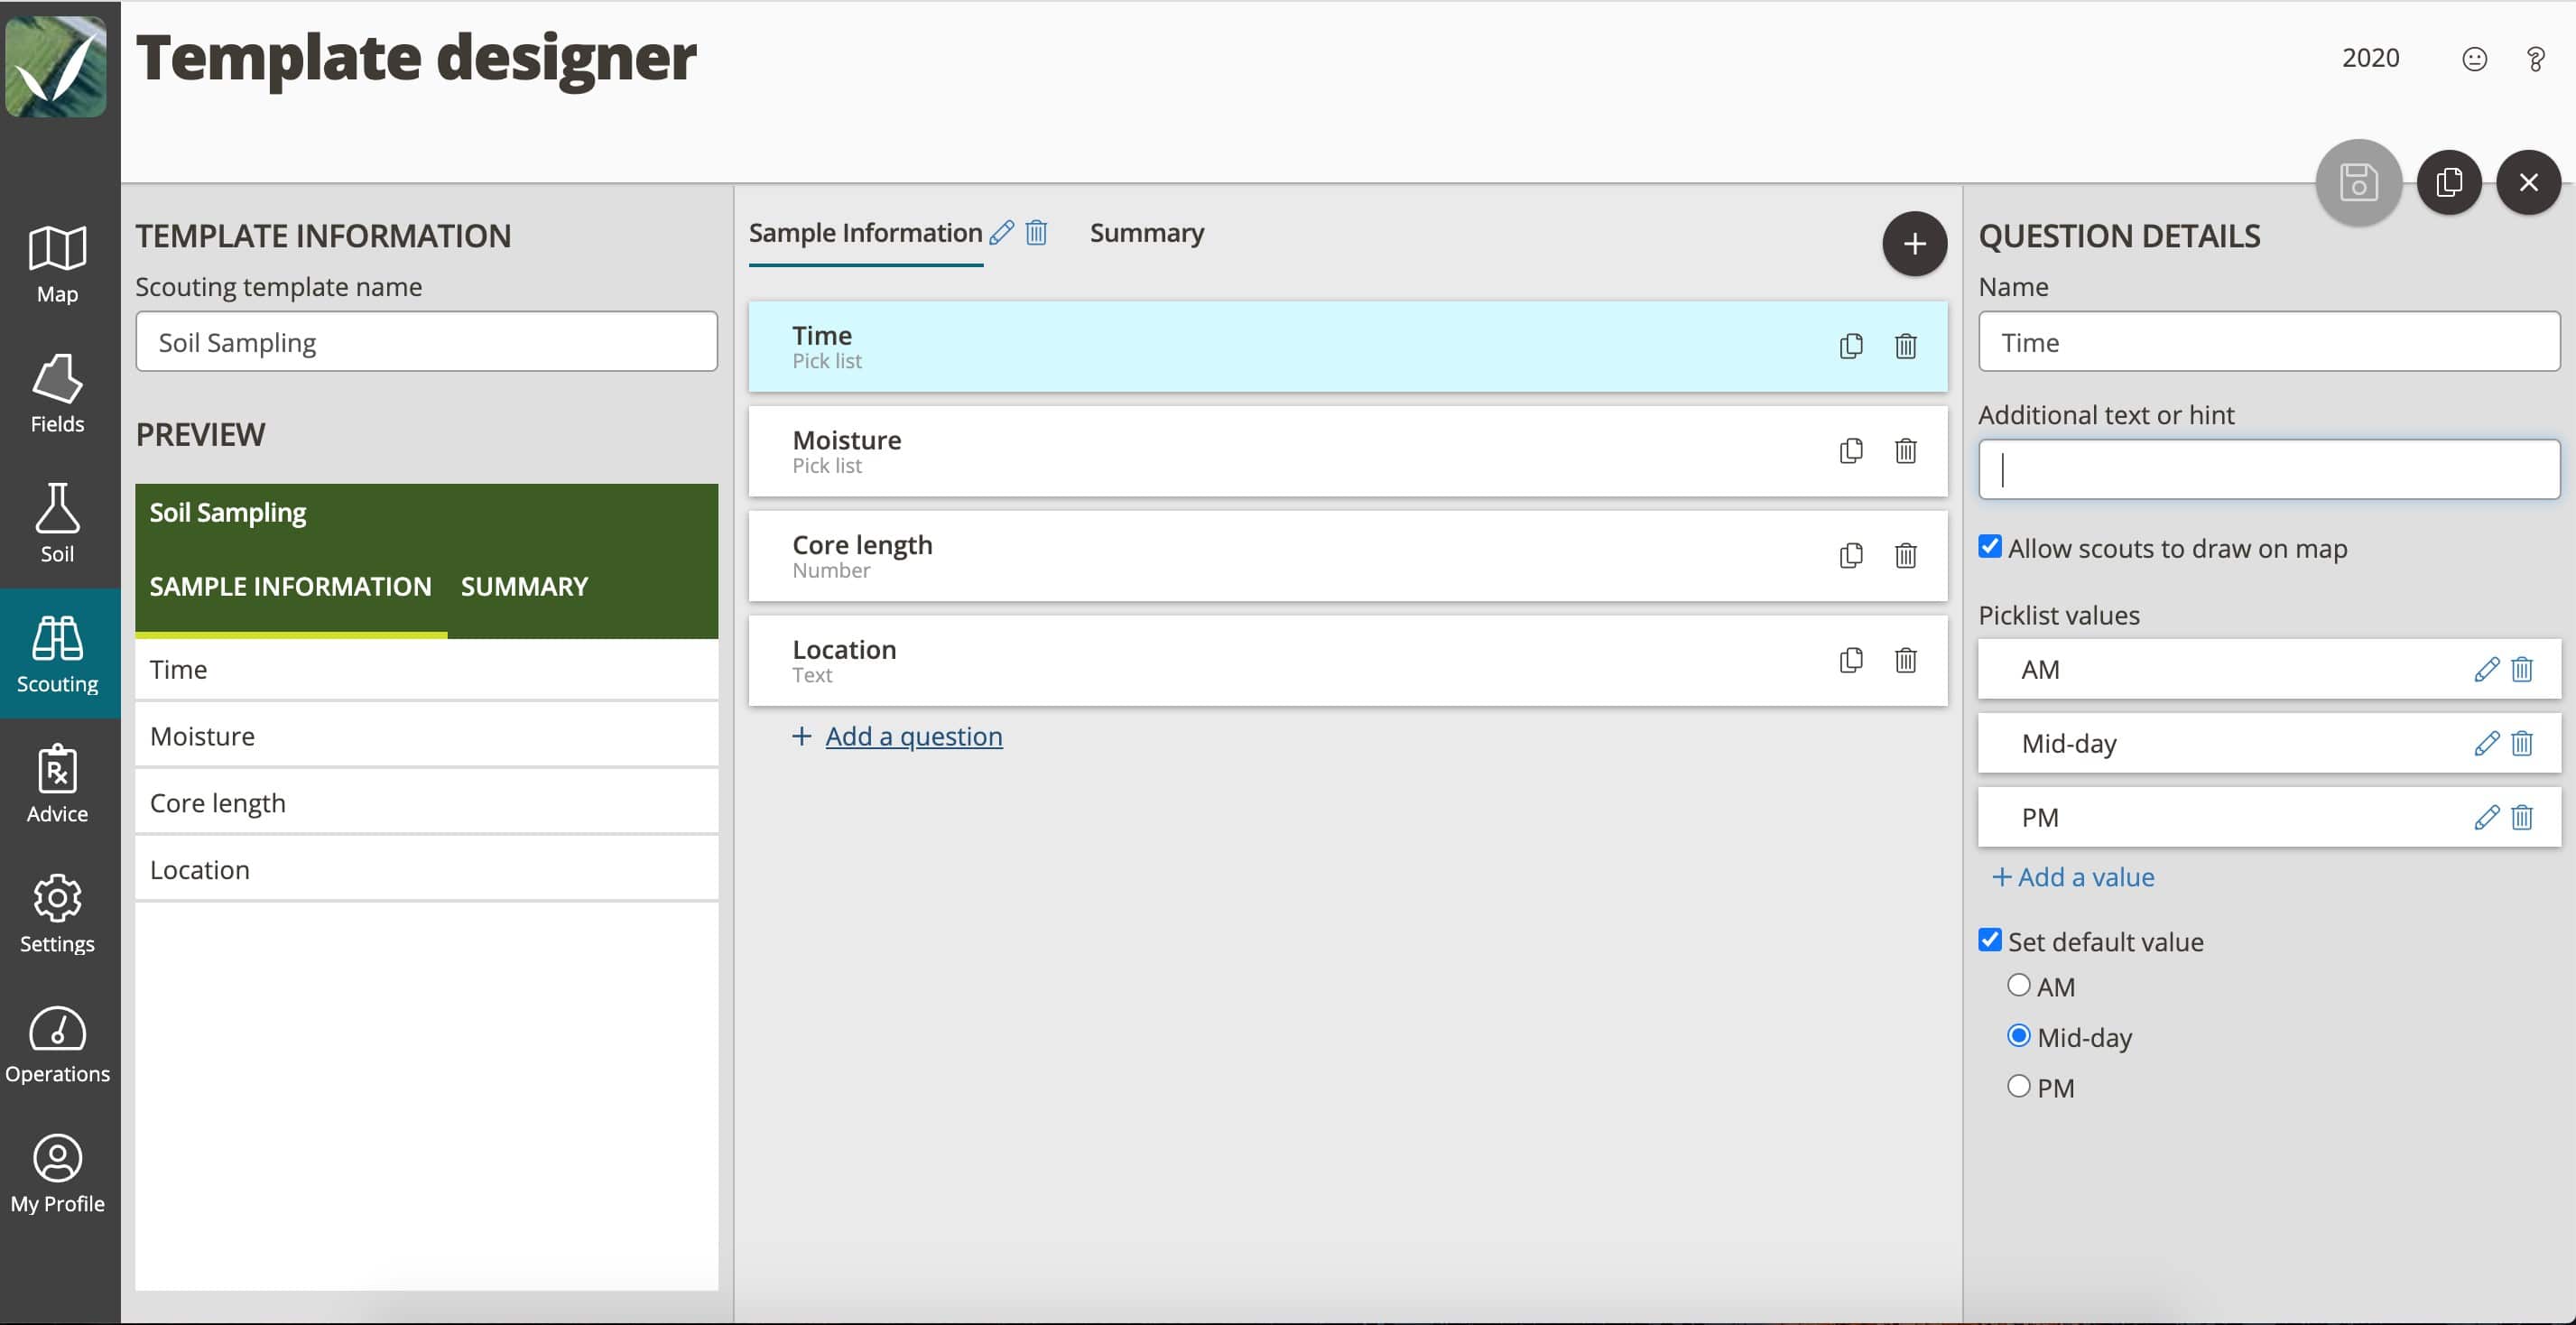
Soil Sampling - Getting Started
If you’re new to using FarmQA for soil sampling purposes, here are some quick steps to get started. Using the same template designer that is used for other scouting observations like disease or pests, you can create a template to track soil sampling information.
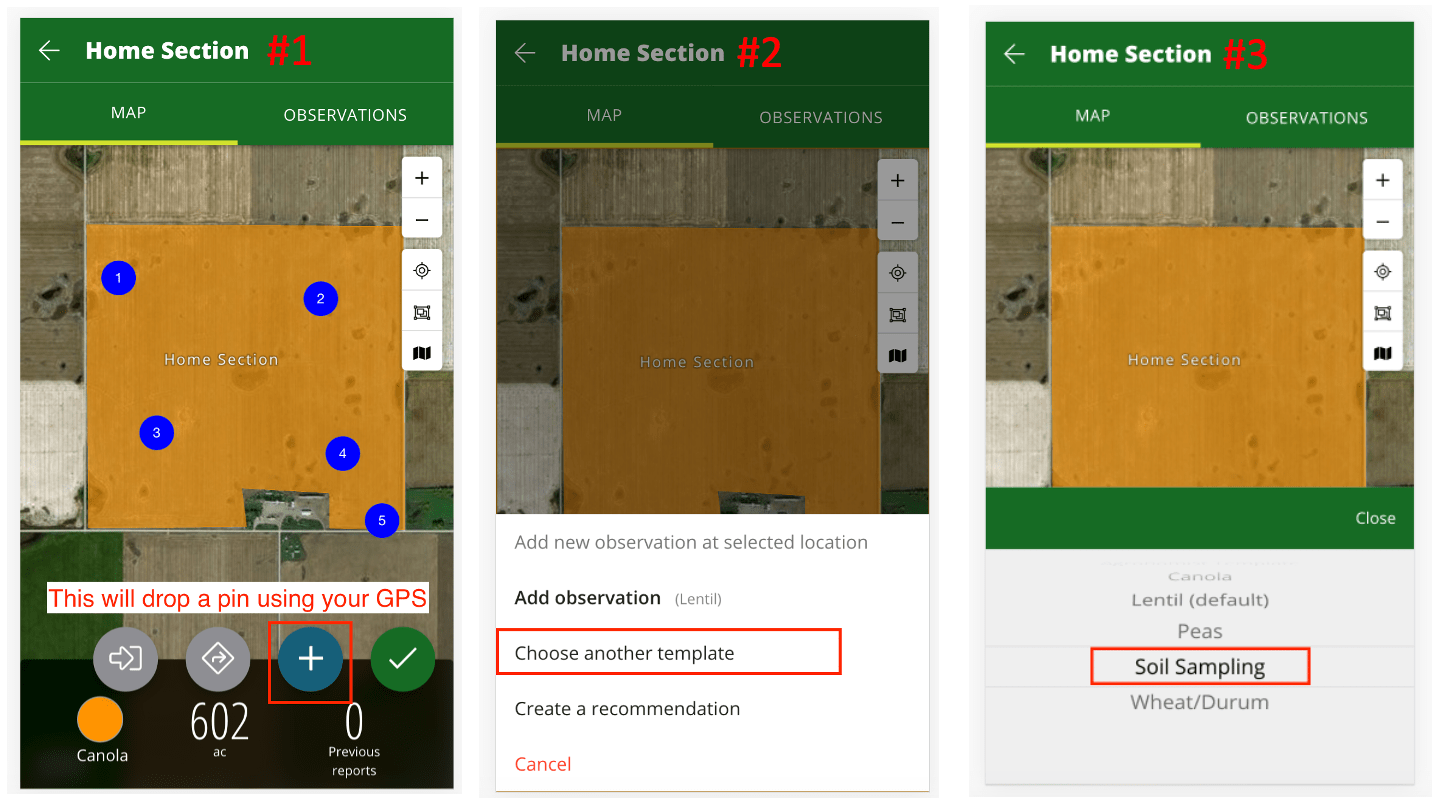
Once the template is set up, the next steps are as easy as 1-2-3!
- In the FarmQA mobile app, find the field you’re, navigate to the location, and drop a pin.
- Open the Soil Sampling template.
- Record your information.
Get complete details on getting started with FarmQA for soil sampling. And get details about how to Return to Sampling Point Locations and Viewing Zone Maps with these support articles. And, as always, if you have questions about features and functionality within FarmQA, just email me at info@farmqa.com.